How to install servos and linkages correctly
Mechanical setup guide for servo arms, linkage angles, throw, control horns, neutral position and radio setup after geometry is correct.
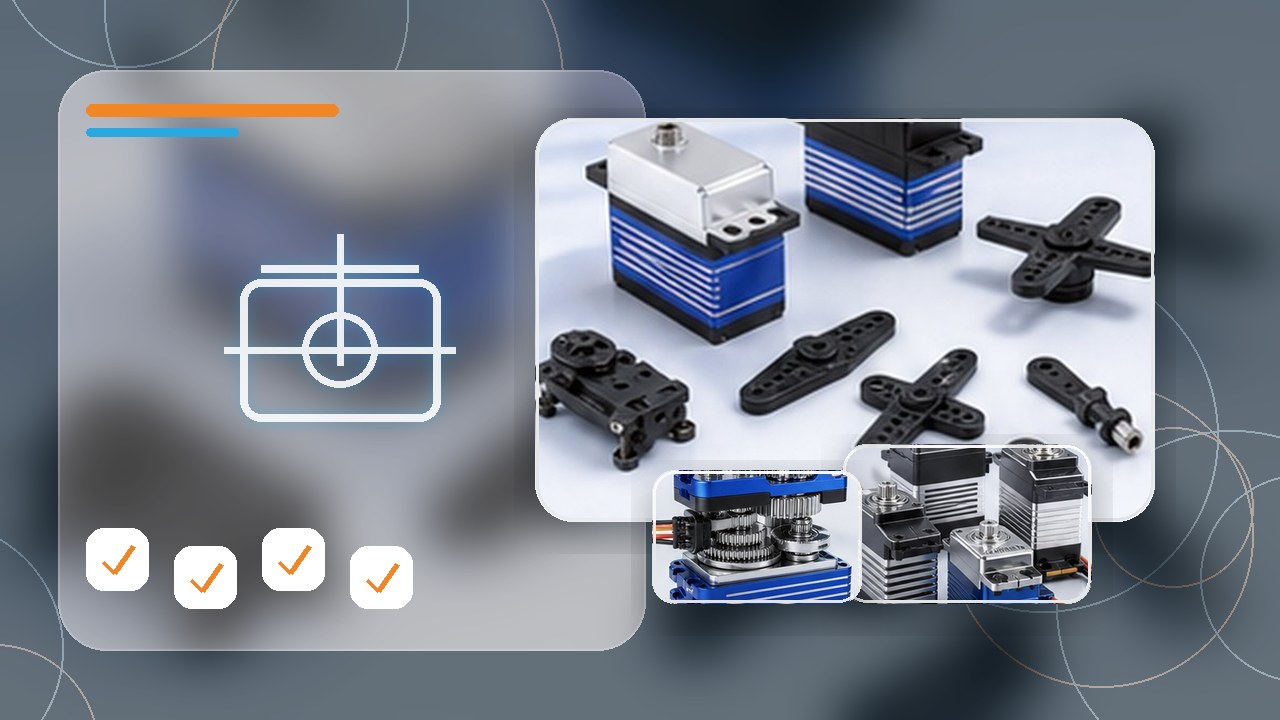
Center the servo before fitting the arm
Power the radio system, bind if needed and center trims and sub-trims before installing the servo arm. Fit the arm as close to 90 degrees as possible to the pushrod at neutral.
Do not use heavy sub-trim to hide poor arm position. Mechanical centering gives cleaner travel and reduces uneven throw.
Linkage geometry controls throw and precision
Servo arm length and control horn hole position determine throw, resolution and load. A longer servo arm gives more throw but less mechanical advantage; a shorter arm can improve precision and reduce servo load.
Pushrods should move in a straight practical path without rubbing the airframe. Clevises, ball links and keepers should be secure and sized for the model.
Radio adjustment comes after free movement
Before setting endpoints, move the control surface through full travel by hand and with the servo. There should be no binding, buzzing, flexing or contact with the structure.
Once the mechanics are clean, set direction, endpoints, dual rates and expo in the transmitter. Use the manual throw values as the first safe target.
Servo and linkage checklist
- Servo centered before arm installation
- Servo arm close to 90 degrees at neutral
- Control horn aligned with hinge line
- Pushrod path is straight and free
- No binding at full throw
- Clevises or ball links secured
- Throws set mechanically first
- Transmitter endpoints and rates finalized after mechanical setup
Common questions
Should I fix linkage problems with transmitter trim?
Use radio adjustments for fine setup, not for hiding bad geometry. Mechanical alignment should be corrected first.
What causes servo buzzing?
Buzzing can come from binding, overloaded linkage, poor endpoint setup, weak power or a damaged servo. Check mechanics first.
How do I reduce too much throw?
Move the pushrod inward on the servo arm or outward on the control horn, then fine tune endpoints in the transmitter.
Relevant products from the catalog
Use these links as the practical buying path after reading the guide: aircraft, power system parts, tools and spares that usually complete the setup.